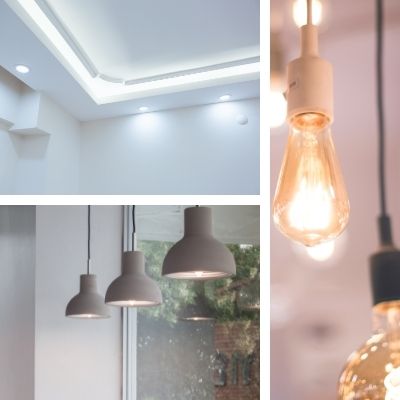
Home lighting is similar to plumbing in that once your contractor lays down the pipe and wiring, moving appliances and fixtures around after a remodel is complete can be very expensive and time-consuming. That’s why planning ahead is so important for all your infrastructure needs, especially electrical. The “walk-through” will help ensure everything is done right the first time.
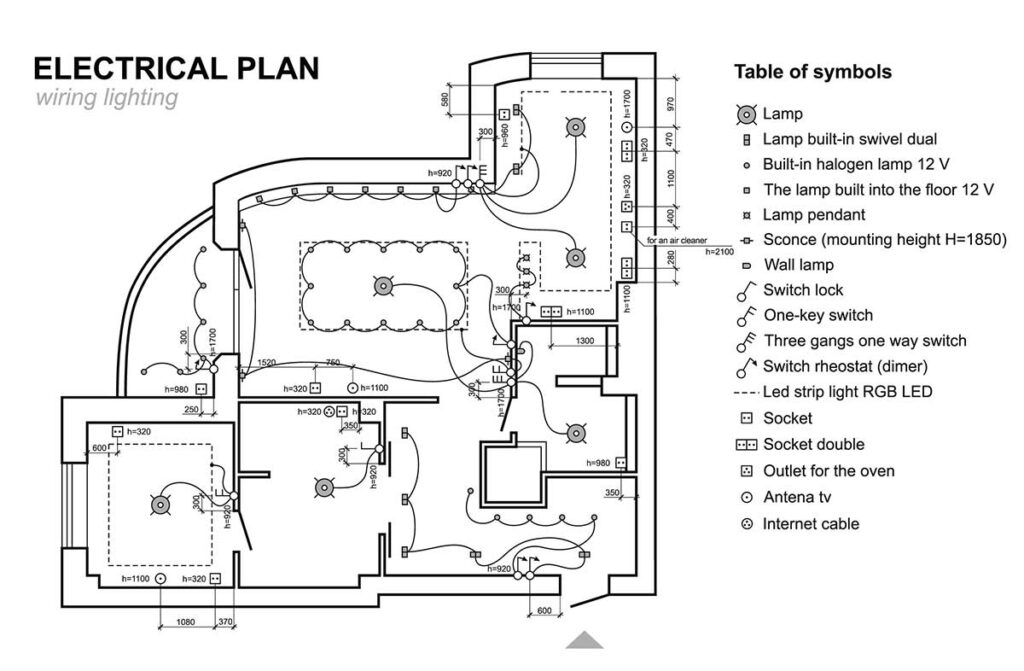
An electrical walk-through usually takes place during a remodel when the framing is finished, but before the drywall goes up. You’ll literally walk through your home with your contractor (and maybe the electrician) to discuss exactly where lighting fixtures, outlets, and light switches will be located. This important detail allows the contractor to place wiring in the walls before they are sealed, and the project completed.
An electrical walk-through, if done correctly, will reduce the chance you’ll need to open up the walls to move any wiring. The exercise will also encourage you to think about and plan an optimal lighting scheme for your remodel. Doing a dress rehearsal before the walk-through with your contractor will also help refine your lighting plan and keep you from feeling rushed.
Here are six steps that will help you put the finishing touches on your remodel with lighting that is well-planned, placed, and perfectly suited to how you and your family navigate throughout your living space.
Step 1: Create Your Home Lighting Layout
Whether you are remodeling a single room or your entire home, begin by visualizing where all the lighting will go and the type of fixtures you will want to install in the space. Lighting is either for the interior or the exterior and varies based on your functional needs and expectations. Print out the floor plan and mark it up with your exact furniture and lighting fixture placements.
Give the marked-up floor plan to your contractor for the walk-through. It’s a good idea to have all the detailed descriptions of the type of lights you’ve selected, and where they’ll be placed. When drawing up your lighting plan, imagine the ambiance you’d like to create in each living space. Don’t forget to specify furniture, shadows, natural light from windows, etc.
Your interior and exterior lighting is not only functional but has the power to set the mood as well. Exterior options include entryways, porches, driveways, sidewalks, and floodlights for lawns and gardens. Interior lighting has the power to impact mood, emotions, energy levels, and comfort in any living space—from bedrooms to kitchens, home offices, and connecting hallways and foyers. Each area is unique, with its own aesthetic and practical needs.
Step 2: Consider Architectural & Other Details

Architectural features like arched ceilings, ceiling coves, and overhangs can block, reflect, and/or capture light. Depending on the mood you’re trying to capture, consult with your contractor to ensure these spaces are properly lit. Work areas demand bright lights, and shadows can be your enemy, so map it all out and add it to your dynamic floor plan.
Be creative and stretch your comfort zone. Partnering with an interior designer in conjunction with your electrician is a smart idea. Describe the ambiance you are trying to create and give yourself the flexibility of balancing colors to harmonize with your selection of fixtures and switches. Today’s homes are well-lit and highly efficient.
Step 3: Know Thy Kitchen (and Other Light-Intensive Areas)
Your family’s kitchen is arguably the most complex and frequented living space in your home, therefore the lighting plan should be proportionately involved. Creating the right lighting design offers a showcase in lighting plans for your entire home, and highlights the various lighting types at your disposal. Space and perspective are additional layout variables to consider when planning.
Lighting types can be grouped into four categories: ambient, task, decorative, and accent. Ambient and task lighting focus on functional needs, namely illuminating either a broad or more focused area. Decorative and accent lighting is more subtle and offers aesthetic and creative options.
Since your kitchen lighting plan will likely cover all four categories, a significant part of your preparation will be to ensure there are plenty of conveniently placed outlets and switches. You can bring your kitchen to life by asking yourself, will the prep area be bright enough with task lighting? Will the decorated areas be properly accented? Will the overhead ambient lighting be sufficient without being too distracting?
Step 4: Sweat the Details and Get Inspired
Lighting is often an afterthought, but you can make the difference between a good and great remodel. Now’s your chance to give your renovation some serious and creative thought well in advance of construction. Design experts have many recommendations on ideas you might have missed and others you should avoid. These are a few of our favorites:
General Tips
- Always get more outlets than you think you’ll need because chances are you’ll need them! If your lighting plan suggests you need four outlets in the living room, give yourself at least five or six.
- Talk to your electrician about a switch you can install to turn off the front doorbell for a bit of serenity when you need it.
Bedroom
- Instead of a table lamp for a crowded nightstand, consider hanging pendants, small chandeliers, or wall scones as your bedside lights.
- Instead of placing electrical sockets in hard-to-reach areas like behind the bed or nightstand, try anchoring between them. Every time you need to plug something in, you won’t scuff your hands or knock anything over.
Bathroom
- Inside a vanity drawer is often overlooked, but a very practical place for electrical outlets. Utilizing the drawer is ideal for plugging in the essentials like hair dryers, curling irons, electric toothbrushes, razors, etc.
- Bathrooms are commonplace to charge phones, so add a USB port, which fits snugly in your vanity drawer or can be more exposed within an outlet on a wall.
Outdoors
- Exterior lights need exterior power, so don’t forget to set up weatherproofed outlets nearby. You don’t want to use extensions cords and USB ports are always a good addition for phones and other electronic devices.
Seasonal
- Don’t forget the Christmas tree and holiday lights! Anticipate where you’ll need to put them and plan your light switches and electrical outlets accordingly.
Step 5: Conduct a Successful Electrical Walkthrough
After visualizing your ideal lighting experience, marking up the detailed floor plan, and scheduling the walk-through with your contractor (and even your electrician), you’ll be ready to roll! Take your time throughout the experience, and make sure that your contractor understands exactly what you want, by giving them the exact details of every fixture, outlet, and switch.
Ask plenty of questions and be clear about your expectations. The wiring and electrical components are placed behind the drywall. Any alterations that require them to be moved translate into time and expense.

Step 6: Trust the Experts at Gayler Design Build
Don’t keep your lighting plan in the dark. Gayler Design Build is an award-winning design-build firm with 22 national and regional design awards and an honorable 23-year track record of being on time and on budget. Founded in 1961, Gayler Design Build is your best choice for remodeling your home.
Gayler’s thorough 14-step process translates into craftsmanship, dedication to excellence, and clear communication that keeps each remodeling project on track at every step. This third-generation, family-owned business is lead by George and Chris Gayler. Their five-year written warranty reflects Gayler’s confidence in their people and their product. Working with you through every detail, Gayler Design Build is here to make your creative remodeling experience smooth and efficient.
We invite you to review Gayler Design Build’s comprehensive design-build home remodeling services, stay informed with our newsletter, or sign up for one of our popular webinars. Please don’t hesitate to contact us with any questions at (925) 820-0185.


